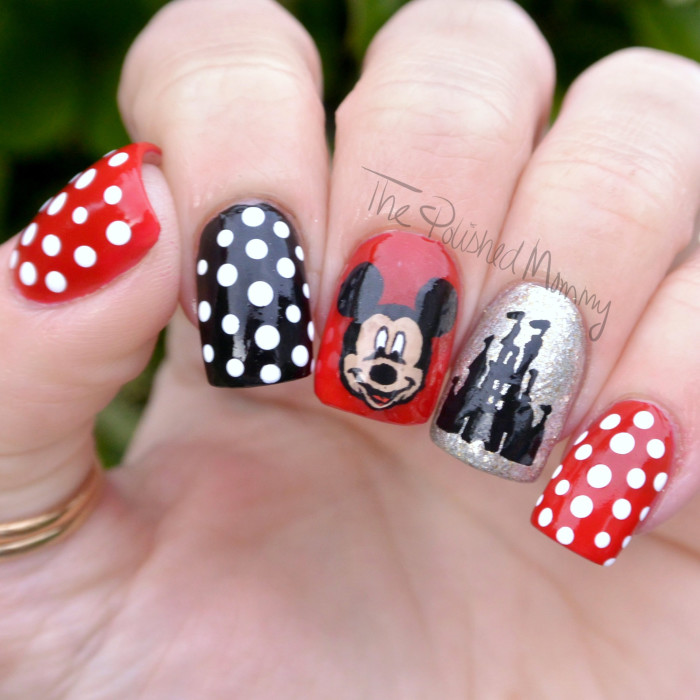
Last week the family and I took a trip back to FL to visit the Grandparents (the boy’s, not ours ![]() ) and visit the happiest place on earth, Disney World! After much deliberation, trying to choose a mani I would like for over a week was very difficult, I decided to go with a Disney theme.
) and visit the happiest place on earth, Disney World! After much deliberation, trying to choose a mani I would like for over a week was very difficult, I decided to go with a Disney theme.
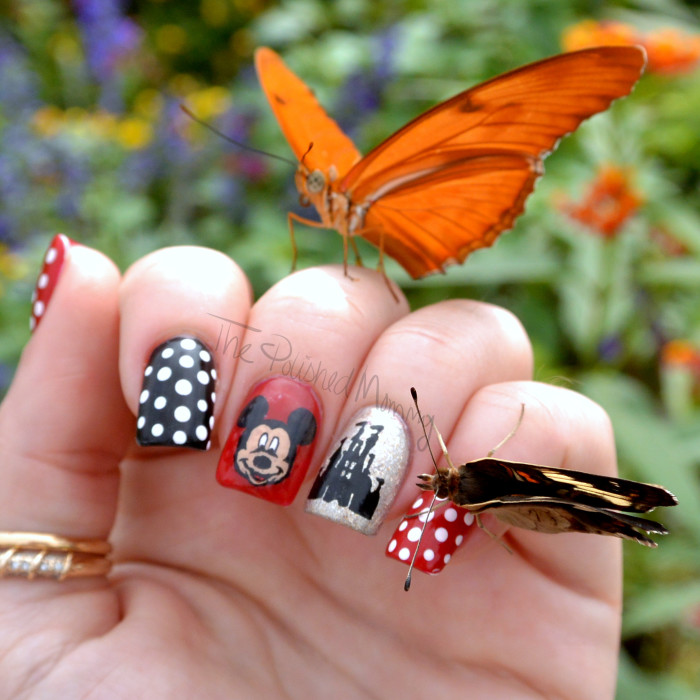
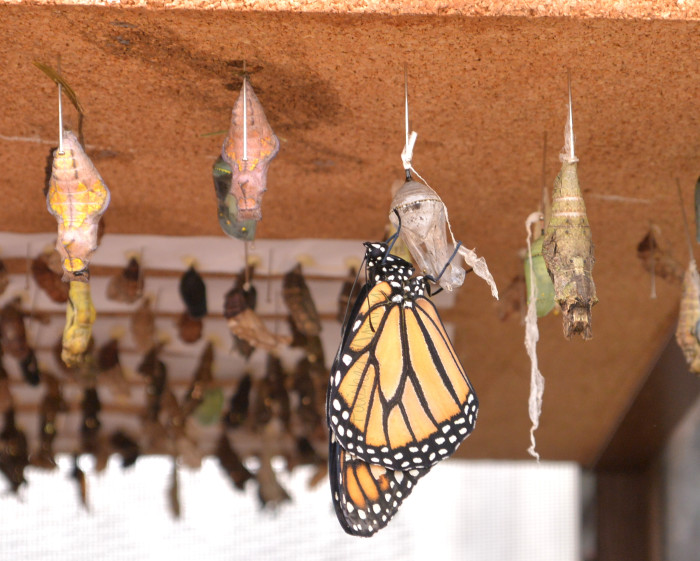
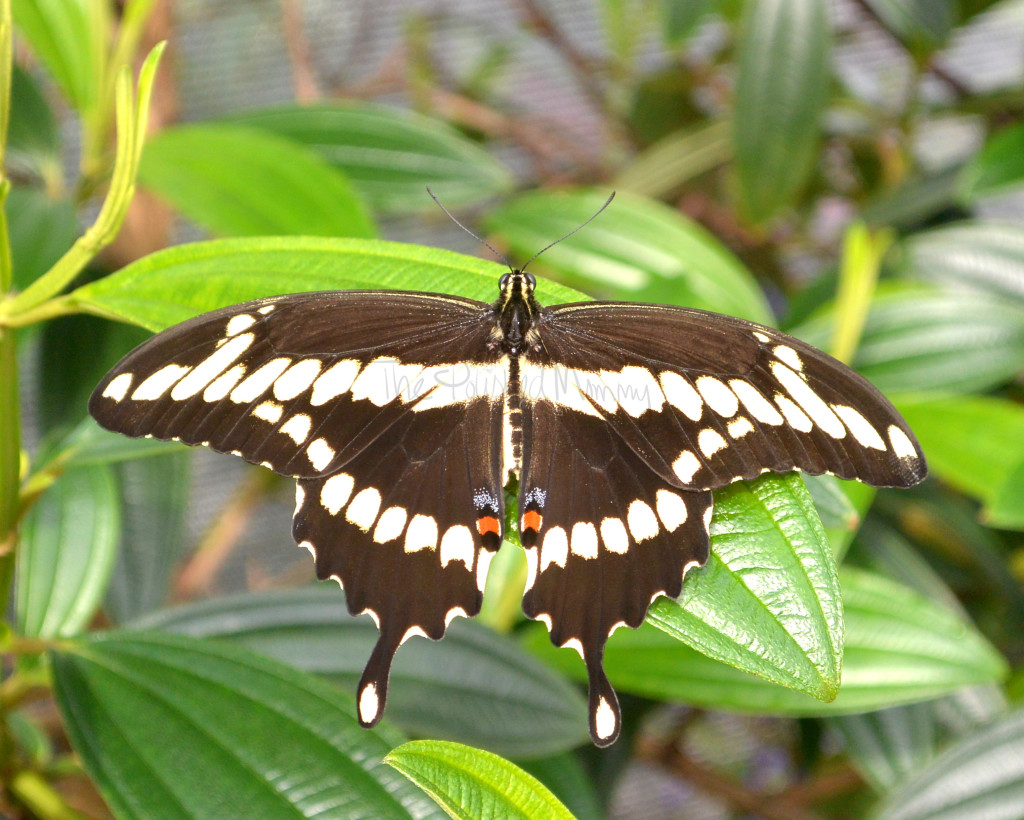
Butterfly Garden at Epcot (even the butterflies like Mickey!)

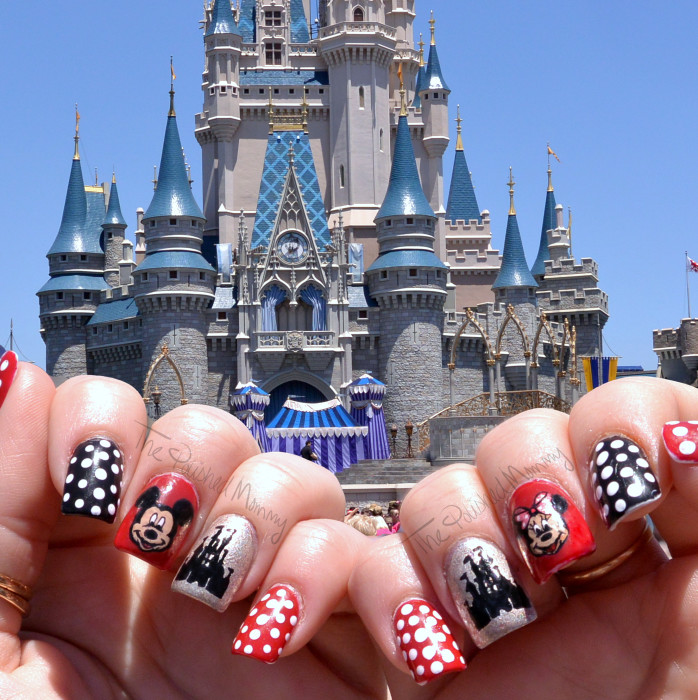
Of course I had to get the castle shot!
Hubby was a good sport, taking many “nailies” to get the perfect shot
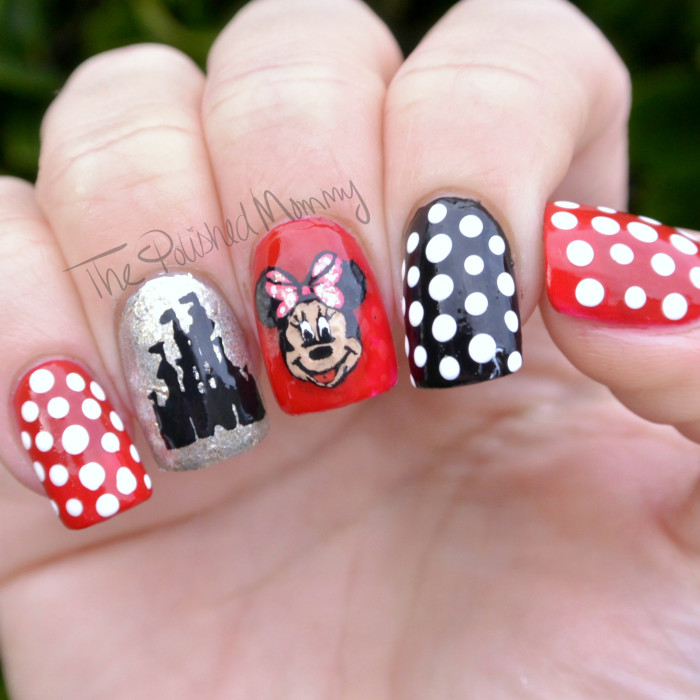
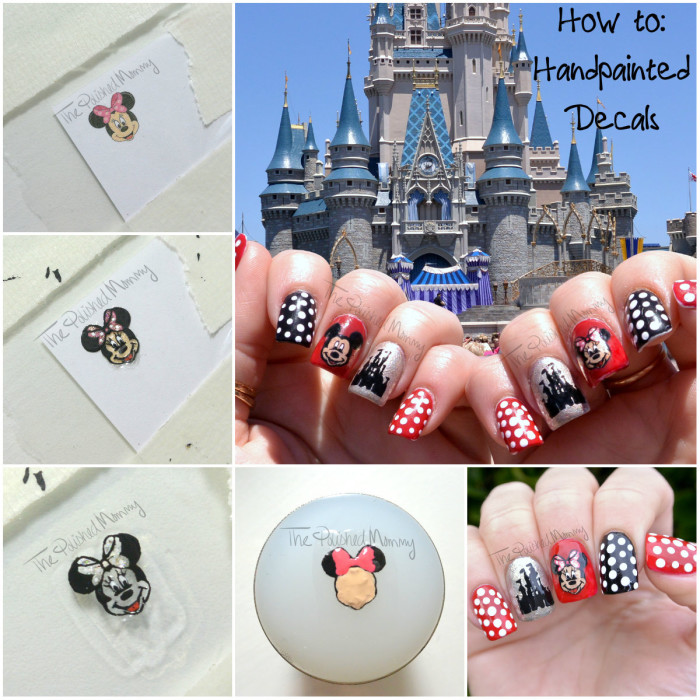
 To create this mani I used OPI Infinite Shine Relentless Red and From Here to Eternity, B Polished Midnight in Death Valley (releasing soon!!), Essie No Place Like Chrome under ILNP Fame, and acrylic paint. (For a pictorial on how I created these handpainted decals, scroll down to the bottom of the post).
Now I want to share a few of my favorite shots from the trip…
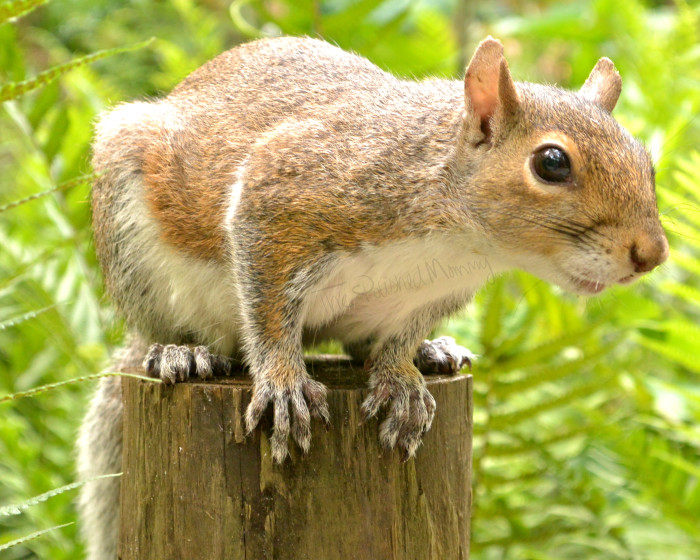 I have a slight obession with squirrels and this little guy let me get up close and personal so I could take this pic, any closer and the camera would have touched him lol.
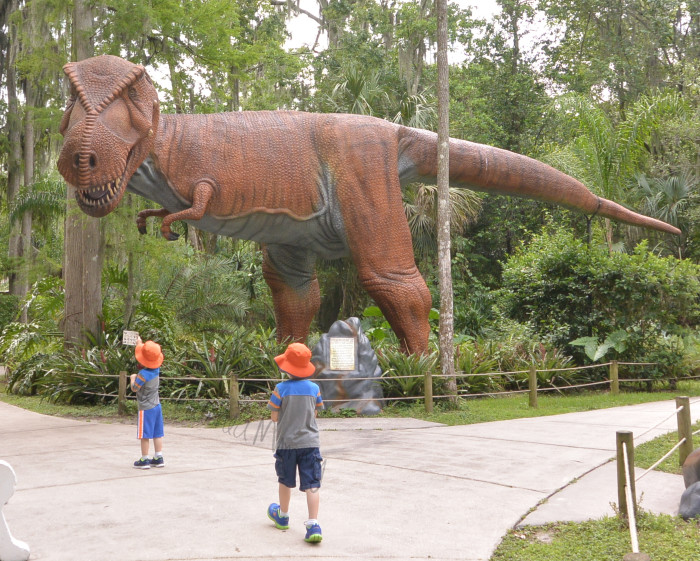 The park features life-sized replicas of dinosaurs, which the boys loved!


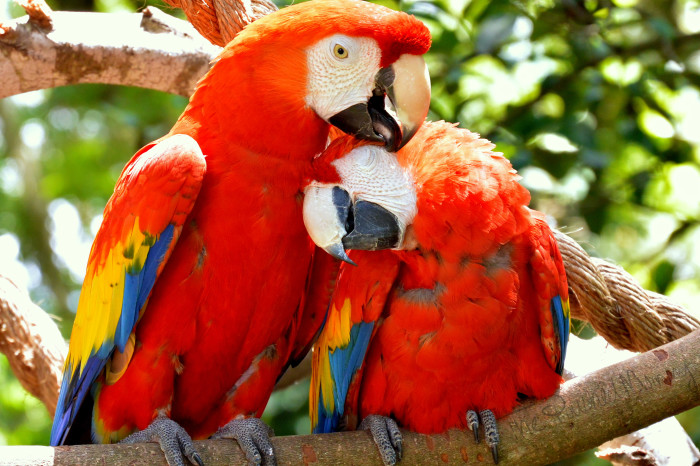 How adorable are these parrots!!??
Here’s how I created the Mickey, Minnie, and castles….
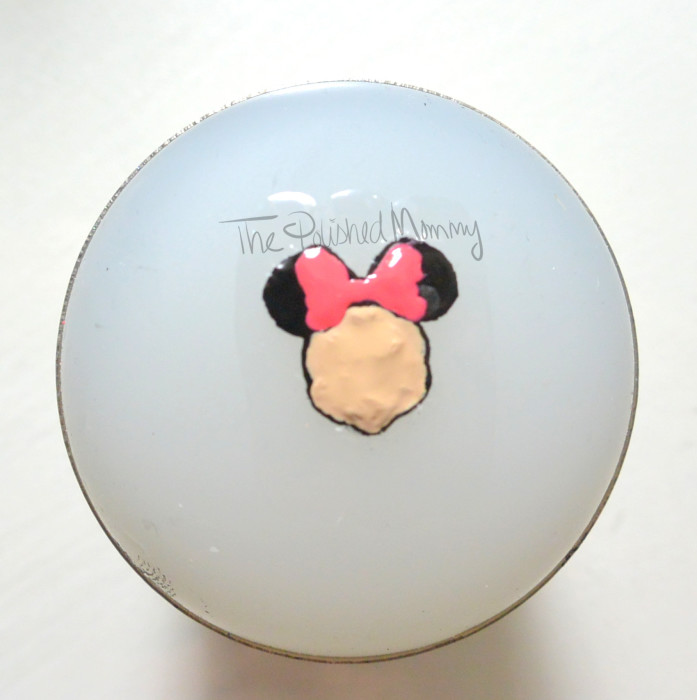
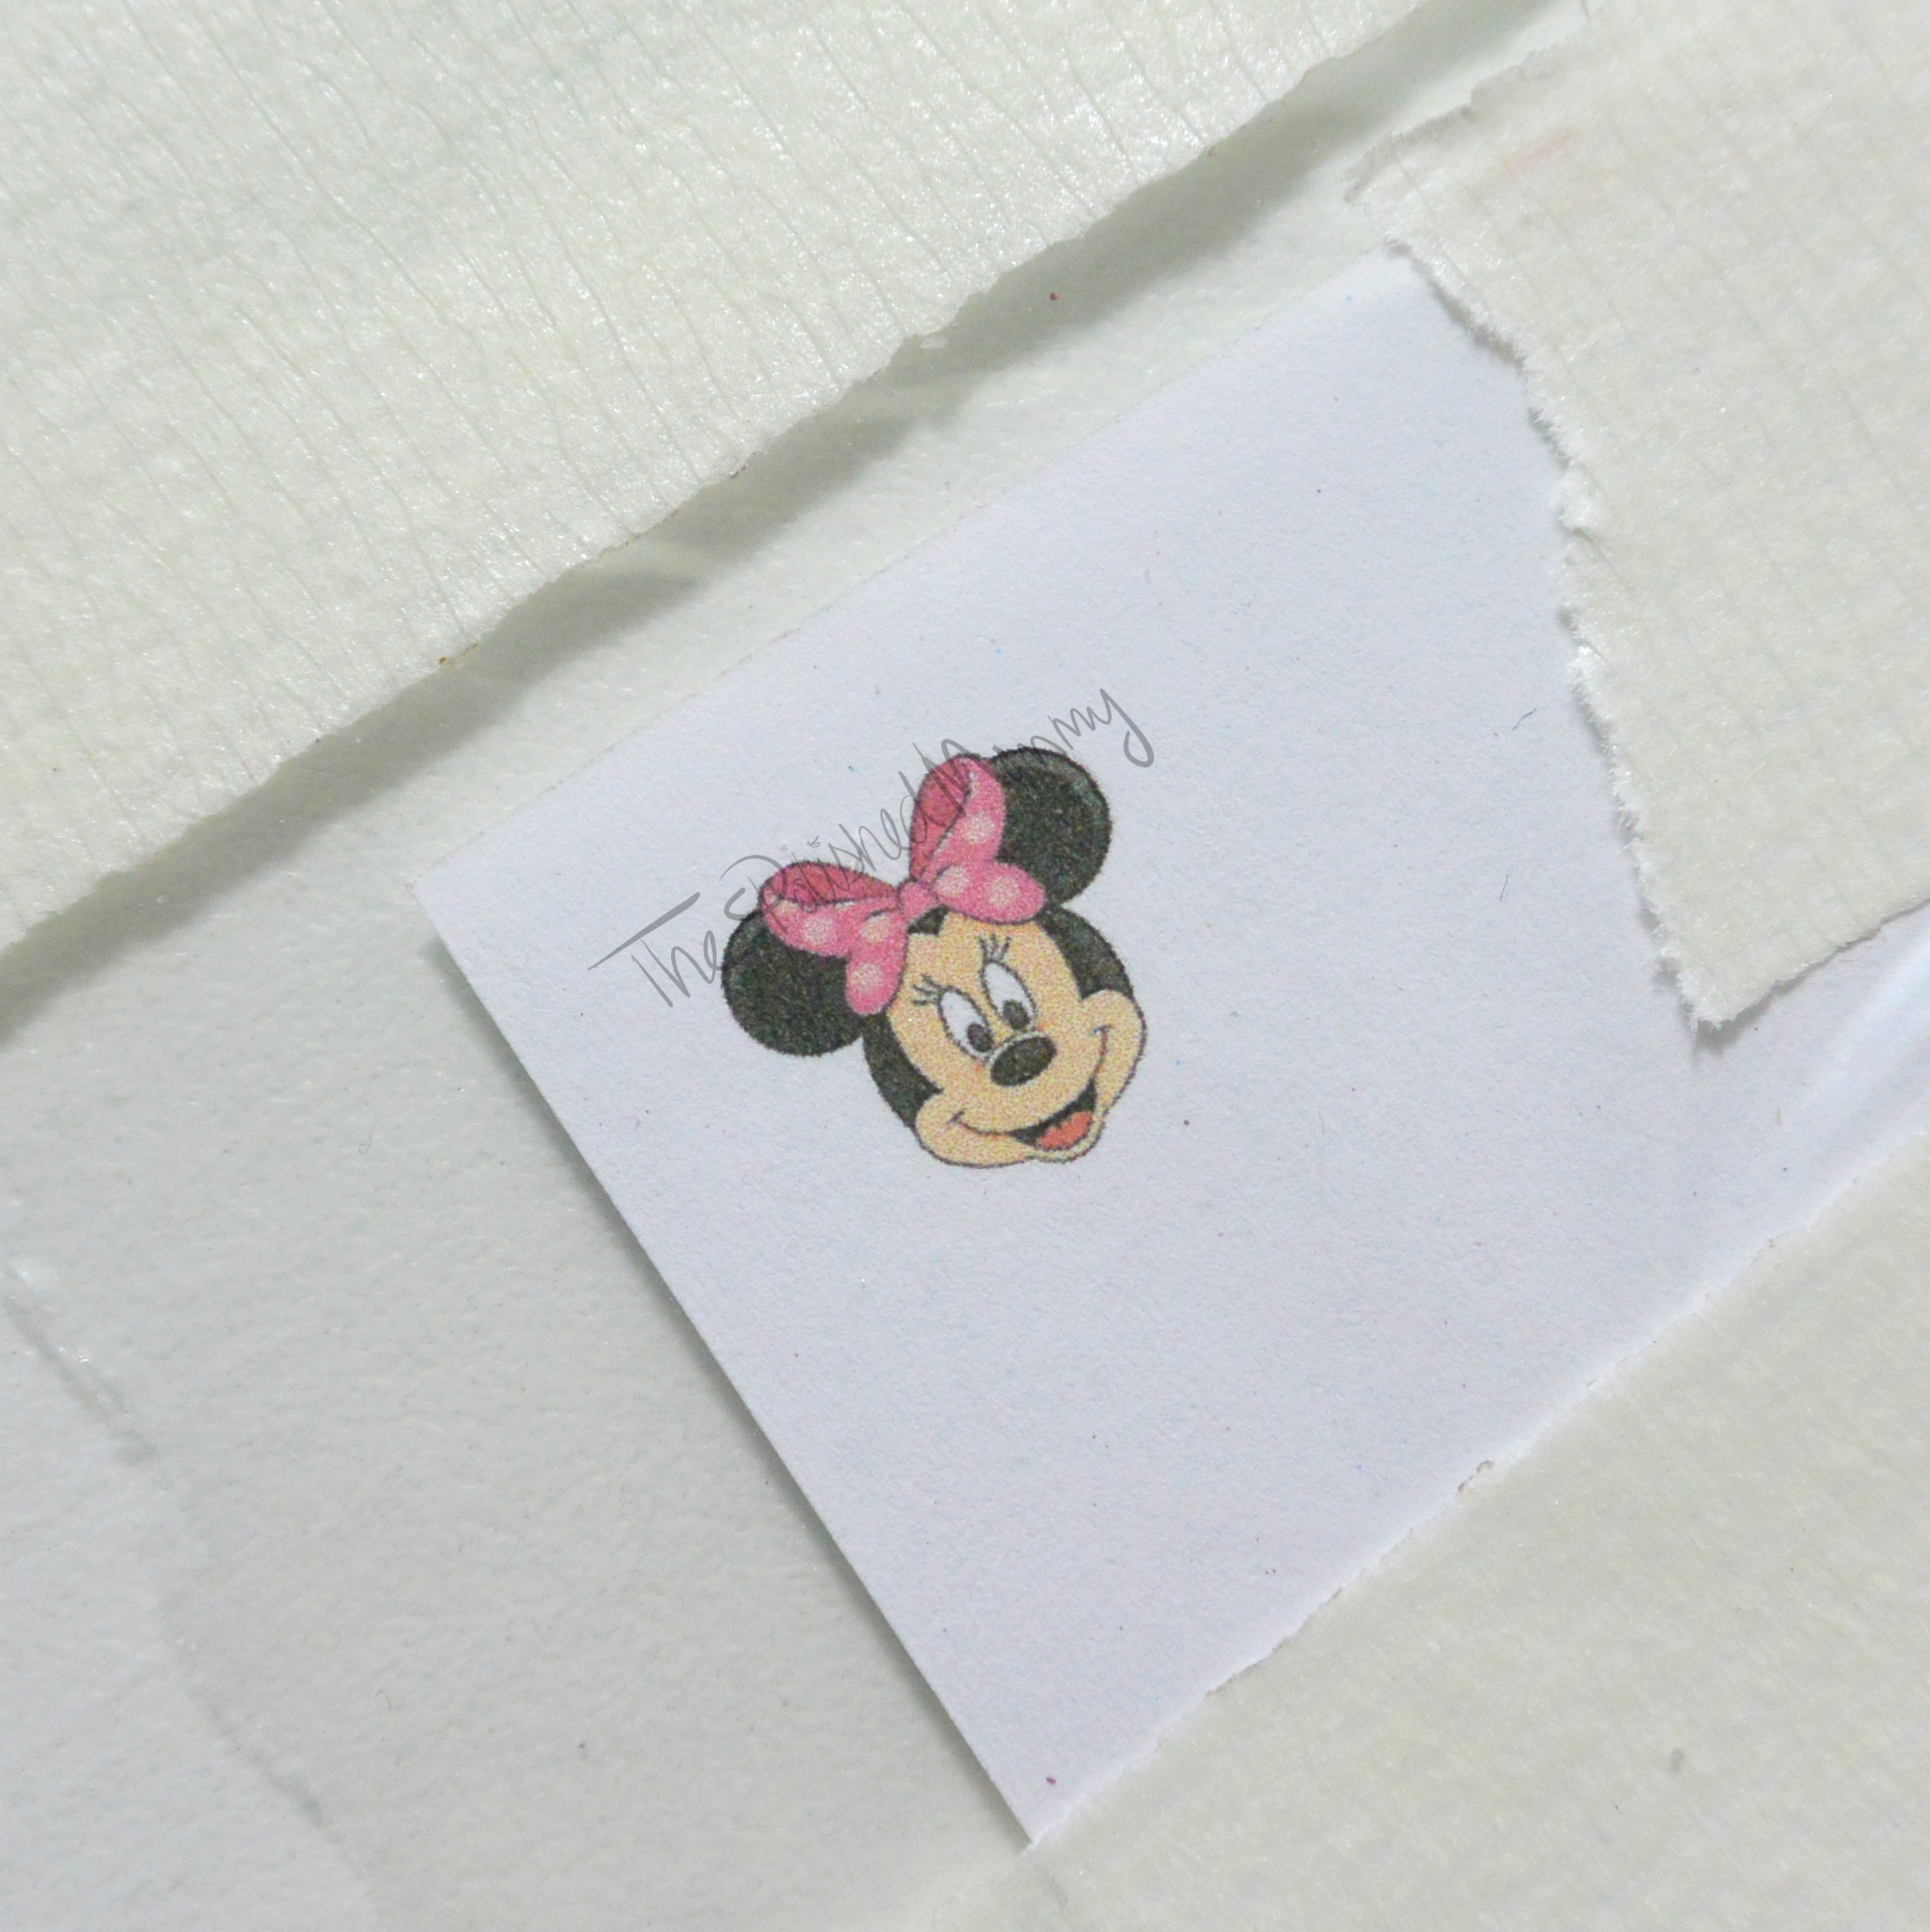 First I printed out and sized the image I wanted to use. Then I taped down a piece of a plastic baggie.
 Using acrylic paint and a size 18/0 detail brush (trimmed to thin it out to a couple of hairs) I traced over the design, leaving the background colors blank. Any mistakes can be wiped away with a brush and water or for fine removal a dulled toothpick (be sure not to rip the plastic).
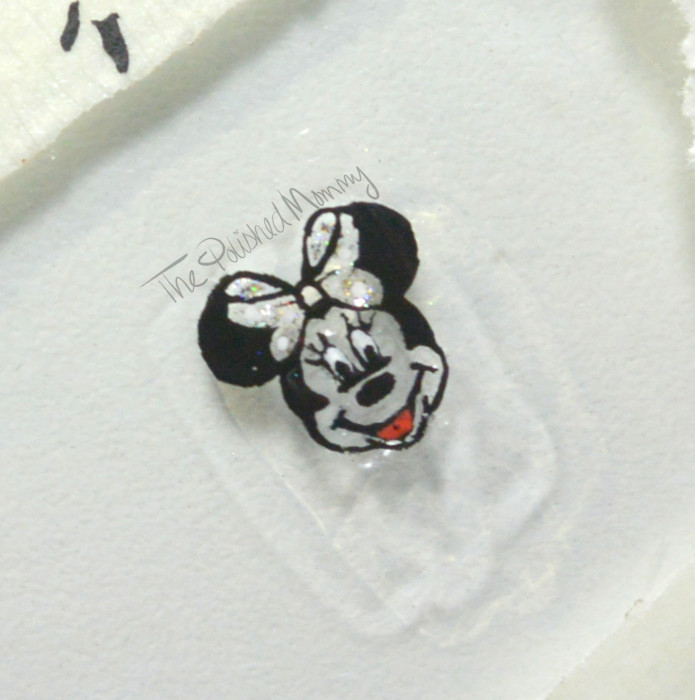 Once I was done, I removed the plastic from the paper and filled in any missing spaces (like the hole in the ear). Once the paint dried, I applied a thin layer of top coat. I like to use a thin top coat for my decals, it dries faster and is easier to place on the nail, however it is more delicate to handle.
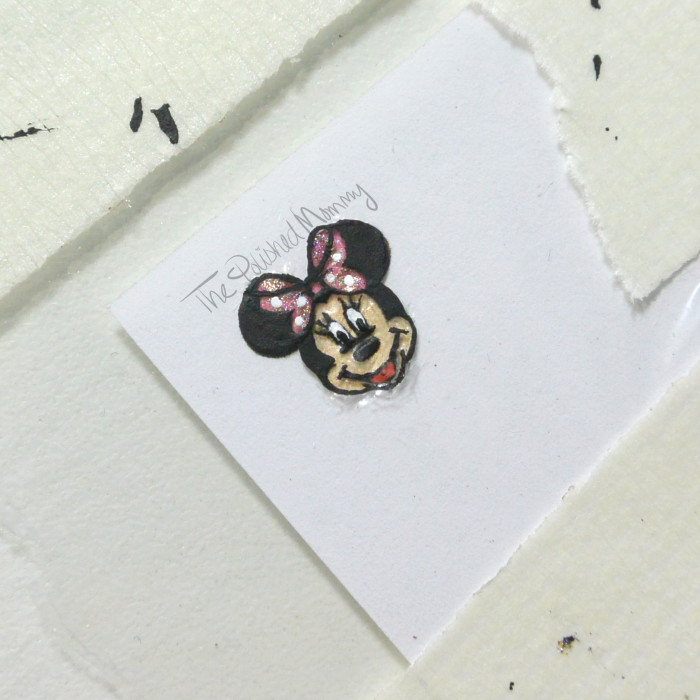
 Once the top coat was 100% dry, I took my stamper and picked up the image. I then reverse painted the background colors, this gives a more finished look rather than trying to paint around the fine lines. Once this dries you can trim the down the top coat using precise scissors and apply it to the nail. To apply, I placed the decal over dry nail polish. Once it was exactly where I wanted, I firmly pressed down allowing the heat from my finger to temporarily stick it to the nail. Then carefully apply top coat, using the three stroke method to initially seal the decal (side, side, center), this allows the top coat to “melt” the decal onto the nail without smearing.
Hope you enjoyed seeing a small glimpse into my vacation ![]()
If you’re a fan of these Disney nails, please give them a “like” on Instagram for the OPI and Preen.me #INFINITESHINE contest =)
The post Disney Vacation appeared first on The Polished Mommy.