If you are a stamping plate hoarder collector like me then today’s post is for you! After filling up my third Bundle Monster Stamping Plate case and needing a fourth ( with additional large and rectangular shaped plates that would not fit in the Bundle Monster case ) I decided to look for a better, easier, way to store my plates. I came up with the idea to use a 3 ring binder and custom make the holders using sheet protectors and a heat sealer. 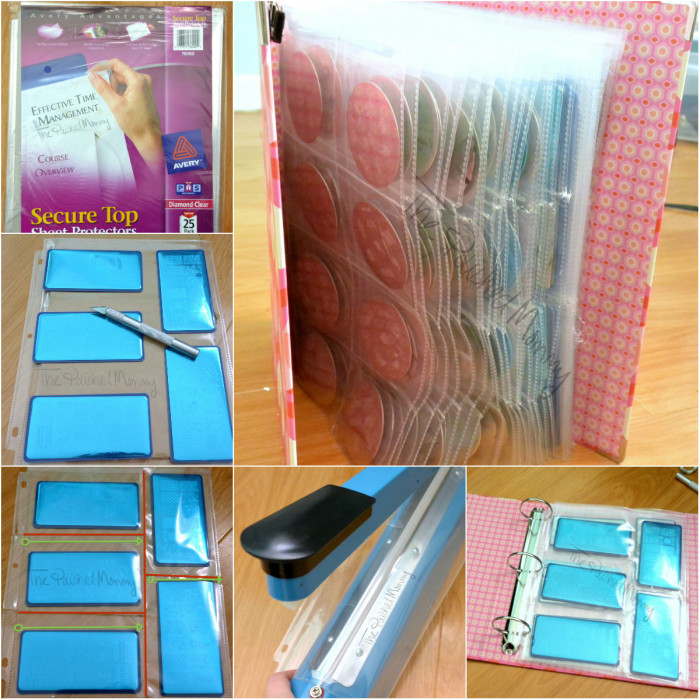
Here’s a step by step guide on how I did it:
What you’ll need:
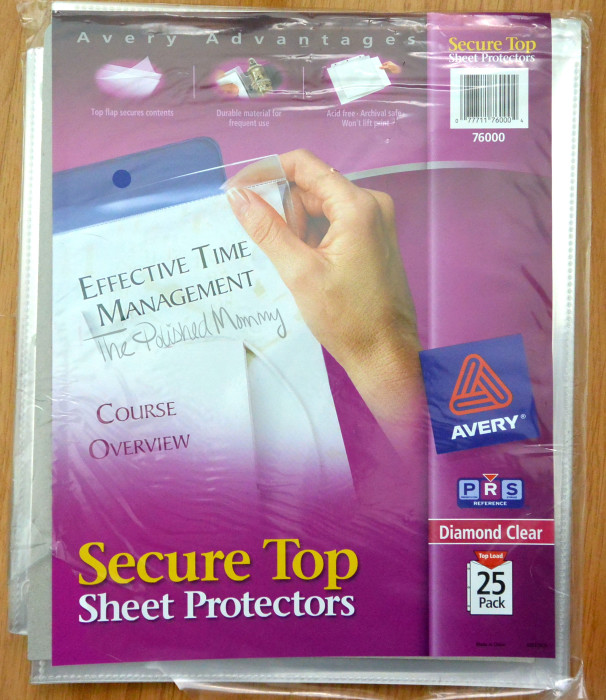
2″ 3 ring binder (smaller or larger depending on the size of your collection)
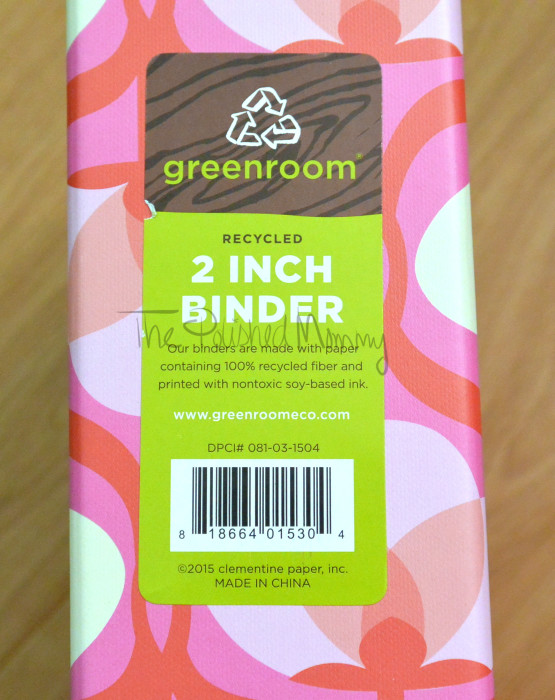
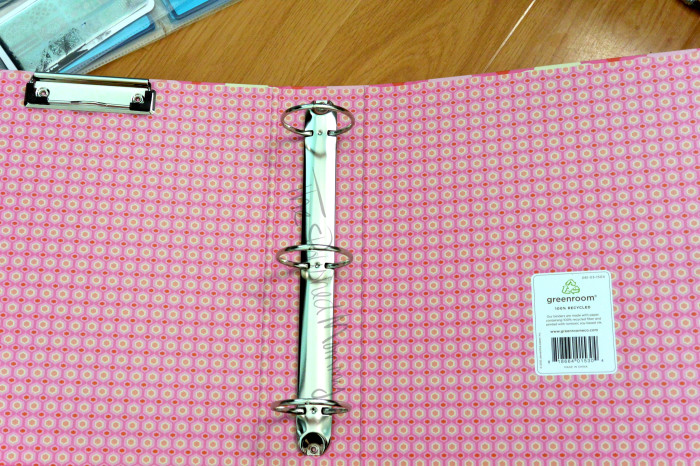
Be sure to get ones that are a heavy gauge. Ones that are too thin may not hold up to regular use over time.
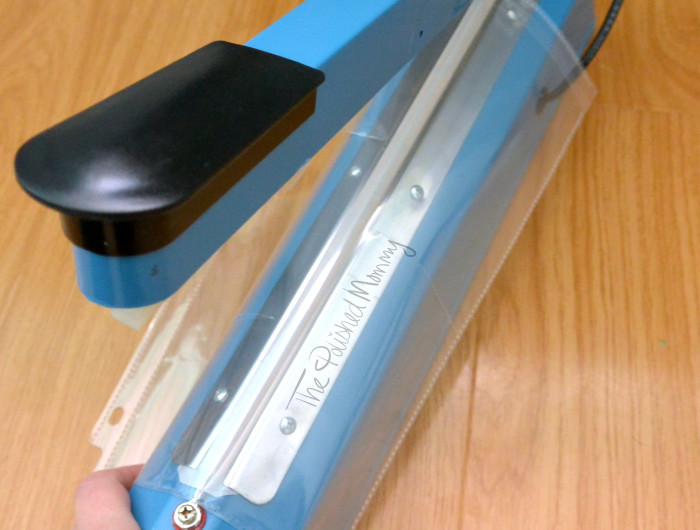 Traditionally used for heat sealing food items, this machine has an adjustable heat dial that allows you to create a seal without melting the plastic. There are several different models, so be sure to get a 12″ model to make sealing easier.
Cardboard I used a scrap piece of cardboard from one of the [many] boxes I have on hand.
Marker
____________________________________________________
To start:
1.Take out one sheet protector, insert your cardboard (cut to fit if needed) and layout your plates how you like them.
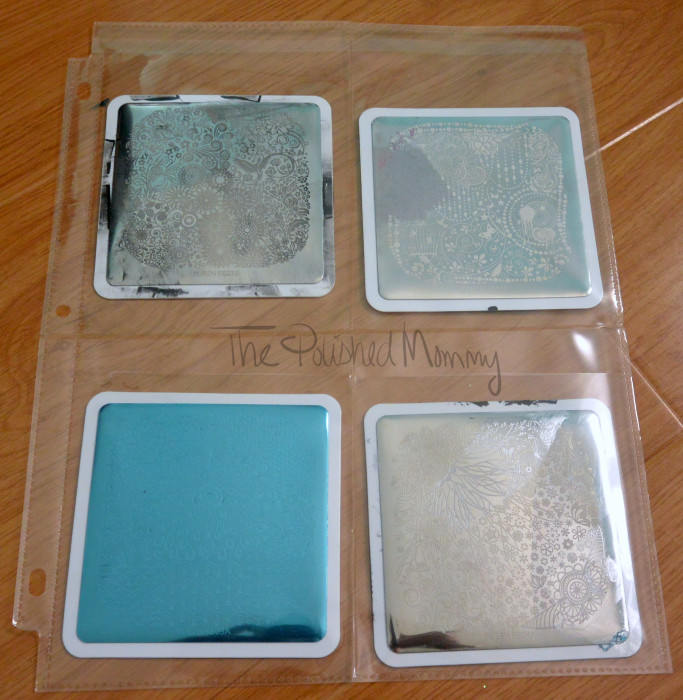 You can fit 4 square Pueen plates on one sheet.
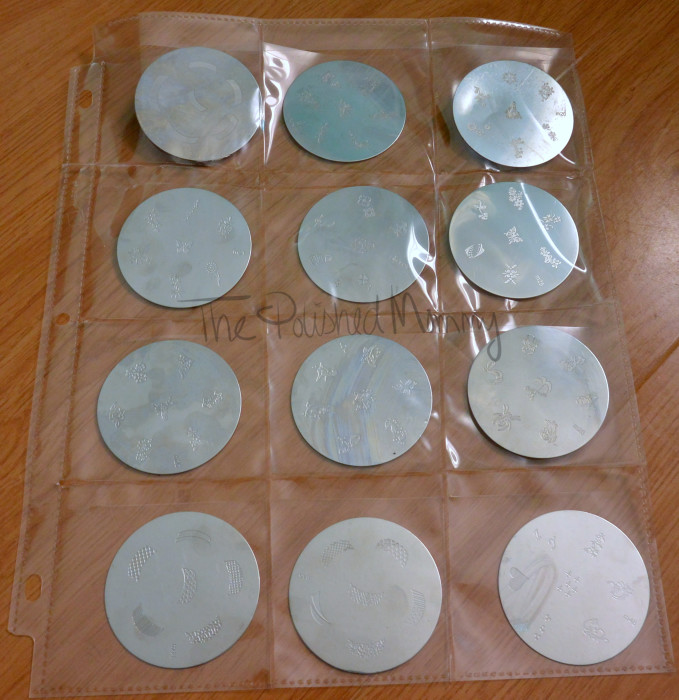 You can fit 12 standard round plates in 4 rows of 3.
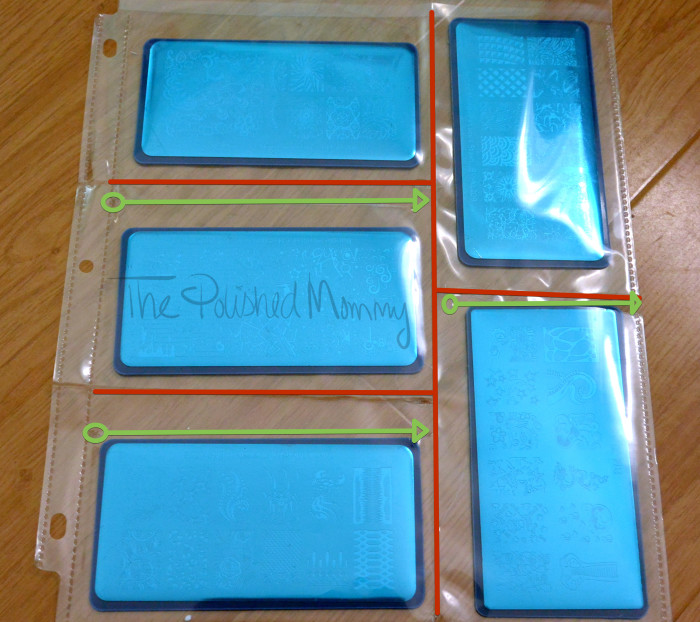 You can fit 5 Bundle Monster rectangle plates on one sheet.
For larger plates, like Uber Chic, you can fit up to 3 on a sheet and very large DRK plates take up a whole sheet.
2. Once you have you plates laid out how they fit to your liking, take your exacto knife and firmly cut along the top edge of the plate. Then with your marker create small guide lines under the plate and along the side (be sure to leave some space for the plate to be fully covered in the pocket).
The green line indicates where you cut, the red line is where you will heat seal.
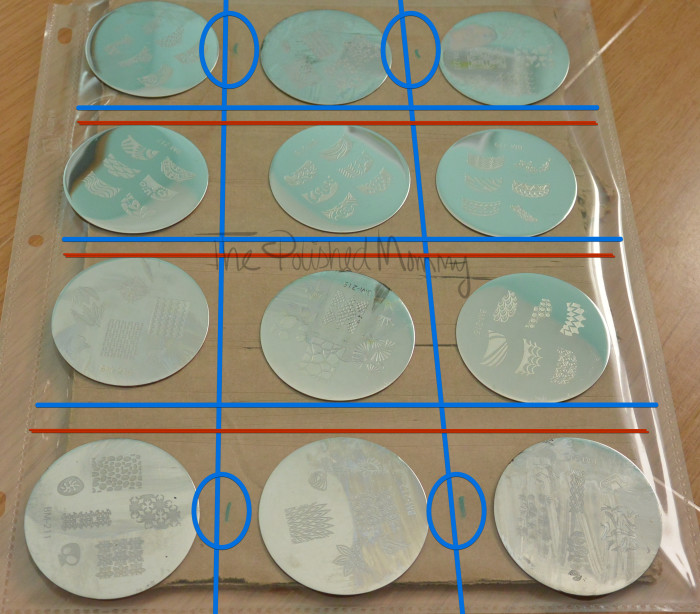 The red line is where you will cut and the blue line is where you will heat seal (the blue circles are the guide marks used to line up the heat sealer).
3. Time to seal.
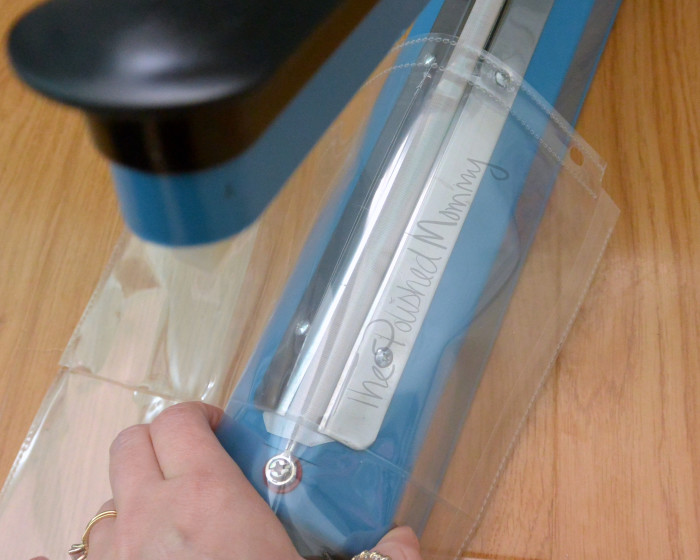 Line up your guide marks along the heat sealer, there is a white sealing element in the center that is easy to see in person. Hold the sheet firmly along the sides of the sealer so there is a smooth surface to be sealed. Once lined up firmly press down on the handle, it only takes a couple of seconds for it to seal.
*Before you begin you may want to do a practice sheet to see what heat setting works best for your sheet, you want a nice clean seal without melting or creating holes.
4. Put in your plates.
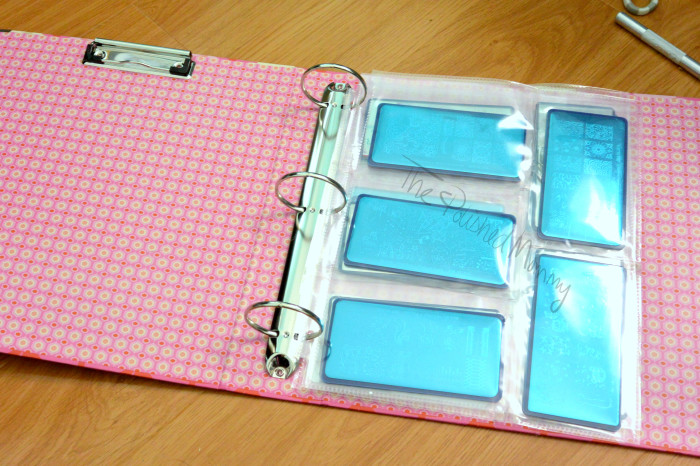 I have my plates stored by collection and maker, making them easy to find, and since each plate is visible I can quickly look through to find the exact image I need.
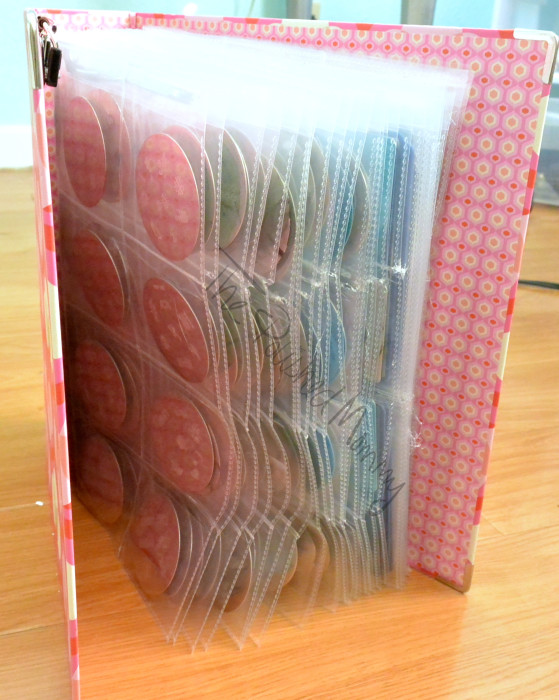 I have just over 25 sheets of plates, and the best (yeah we’ll go with that word) part is I can easily create a new sheet for each new collection without having to worry about running out of space to store them.
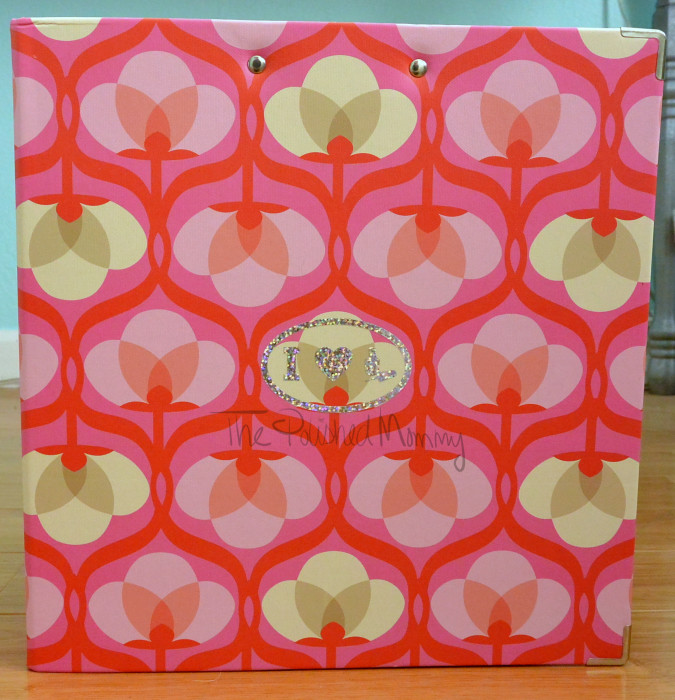 You can also personalize your binder with maker stickers or vinyl decals. This one is the I ♥ [Nail Polish] vinyl decal from NailVinyls .com.
I hope I made this tutorial clear, if you have any questions feel free to comment below or email me at thepolishedmommy@gmail.com =)
The post DIY Stamping Plate Case appeared first on The Polished Mommy.